When I was “researching” (which really means pinning things on Pinterest) how to paint your front door, I kept seeing all these diagrams like this:
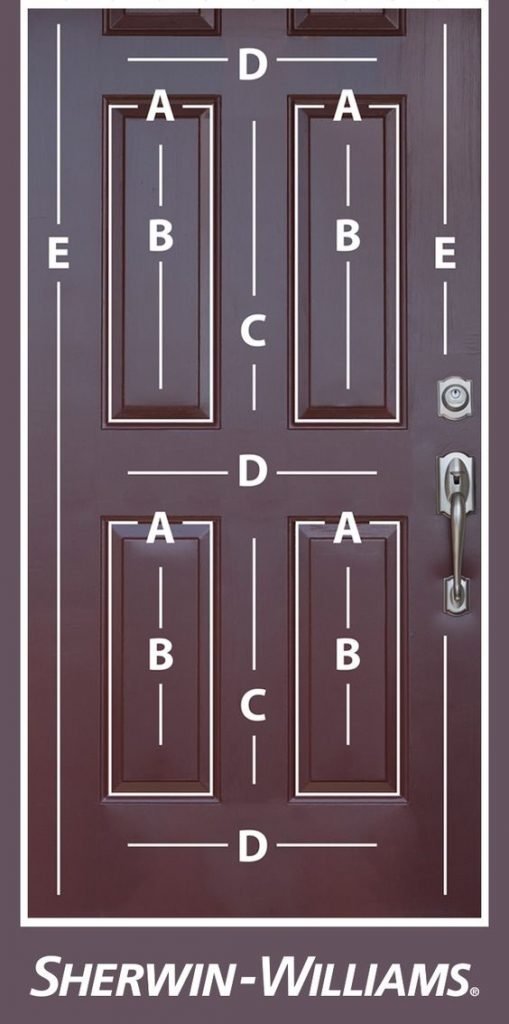
Whaaaaaaaat the junk am I looking at?
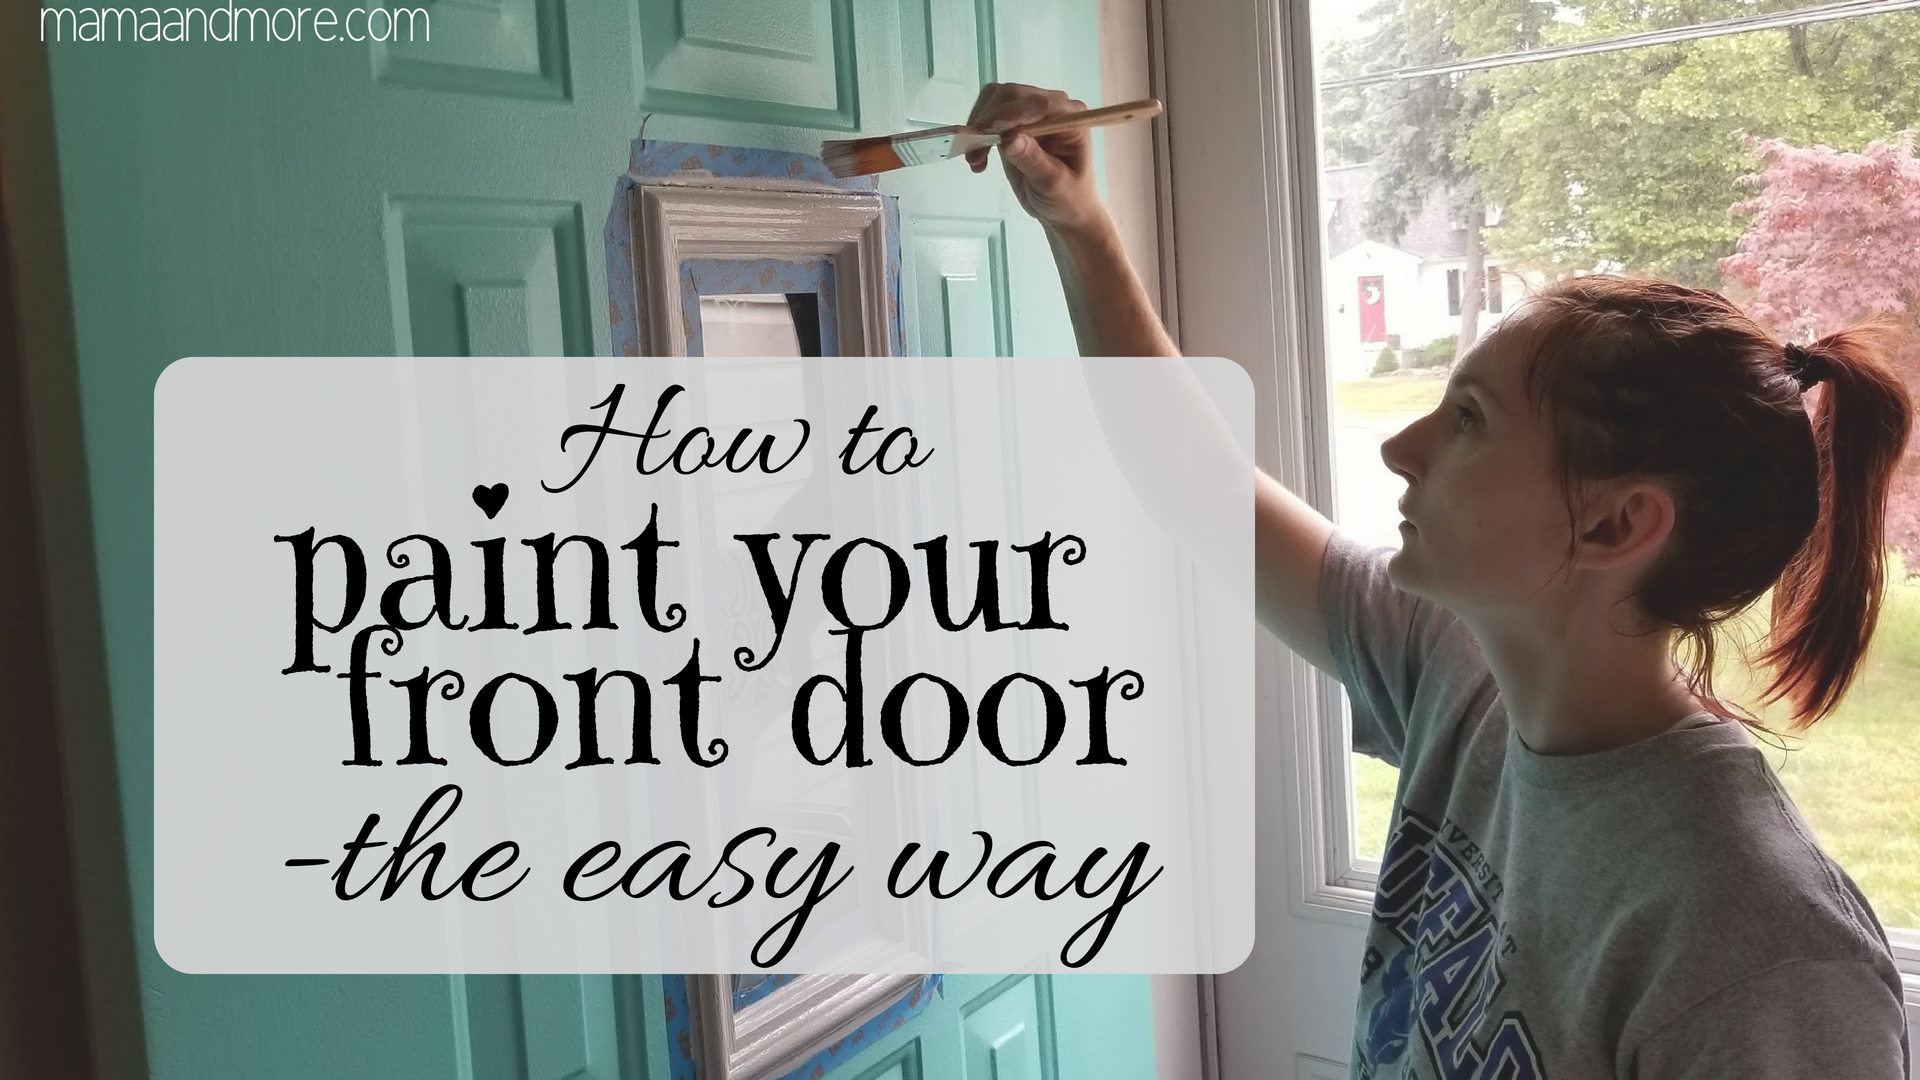
Well I’m here to tell you that you can put away your calculator and protractor, it’s all going to be okay. In fact, “paint your front door” is one of the first projects on my master list of DIY projects for busy people on a budget, because it’s a quick and easy project with a big impact. Perfect for, say, a busy mom with crawling babies and rebellious toddlers. Ahem….

So much cuteness, so much chaos. Anyway, here is what you will need….
Related: Want another way to make your home reflect YOU–for insanely cheap prices? Check out my printable wall art on Etsy in the Black Door Shop. You can even get 20% off your order with the code 20OFF. 🙂
Supplies
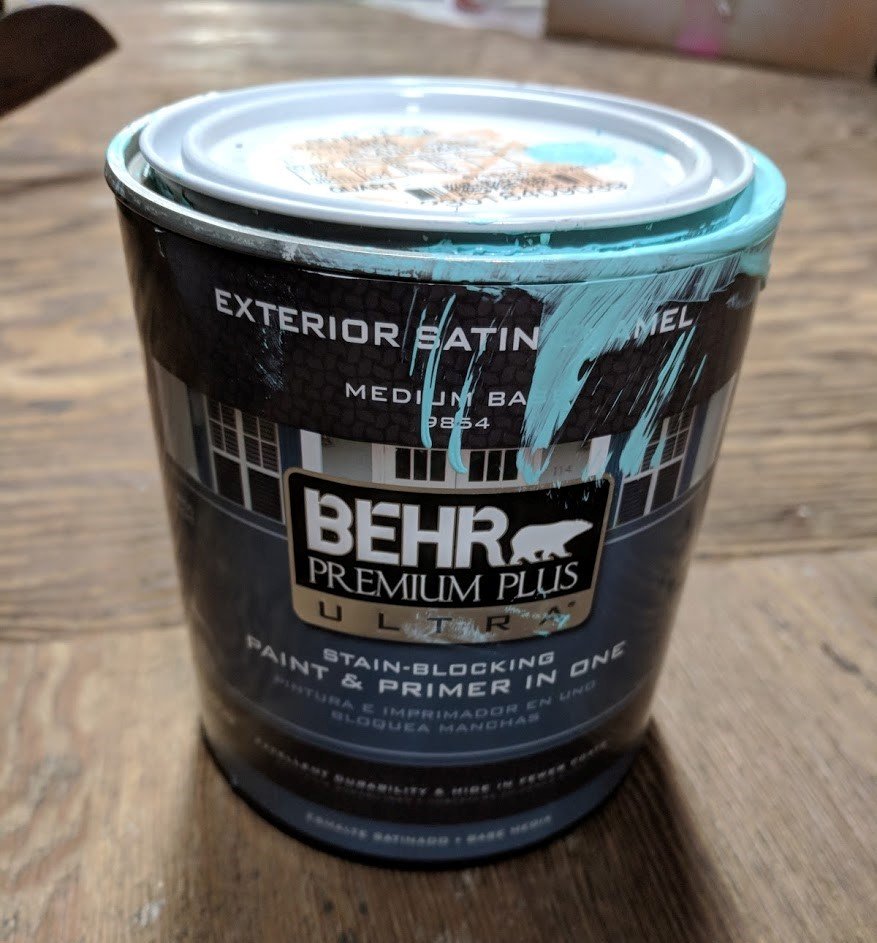
Paint — I used BEHR Exterior Satin
Primer
Sandpaper
A good paintbrush
Small roller, like 6-ish inches
Normal paint supplies like: paint can opener/flathead screwdriver, rubber hammer, a paint tray
Related: How to Limewash Brick
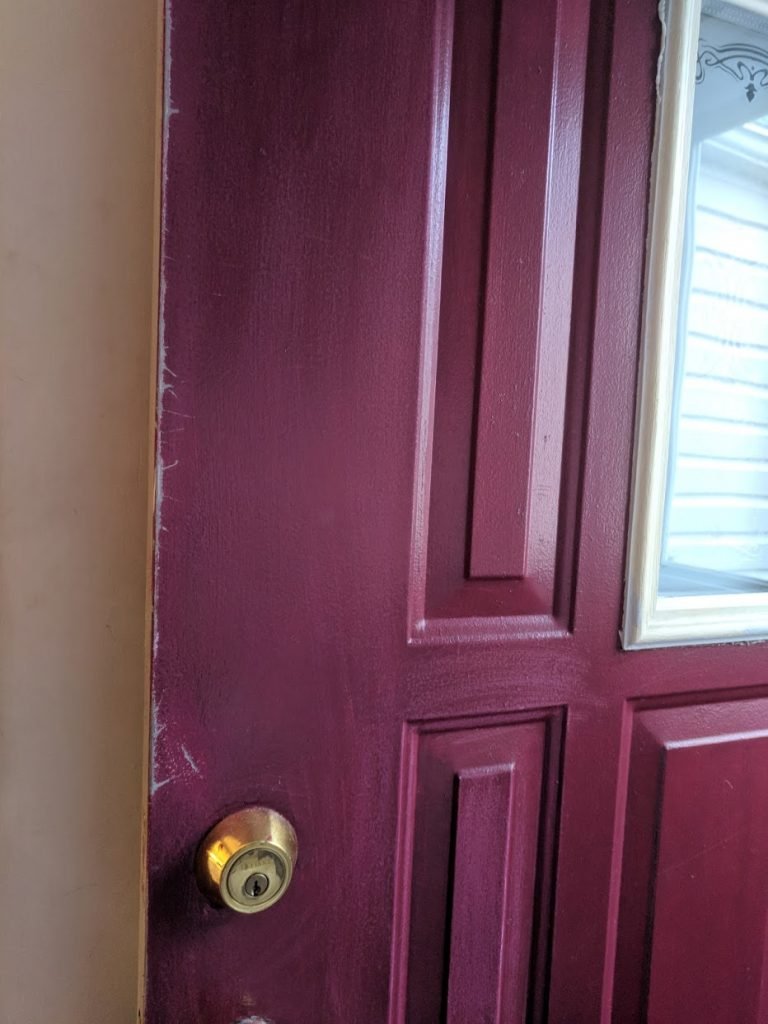
Before
So here was my door before:
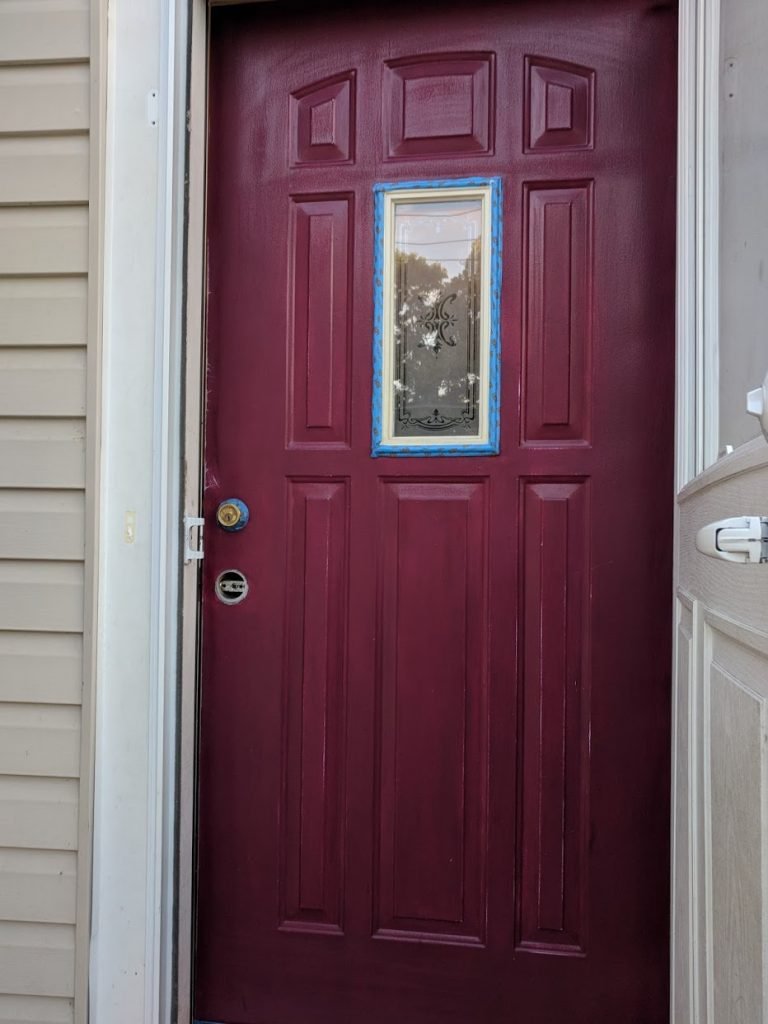
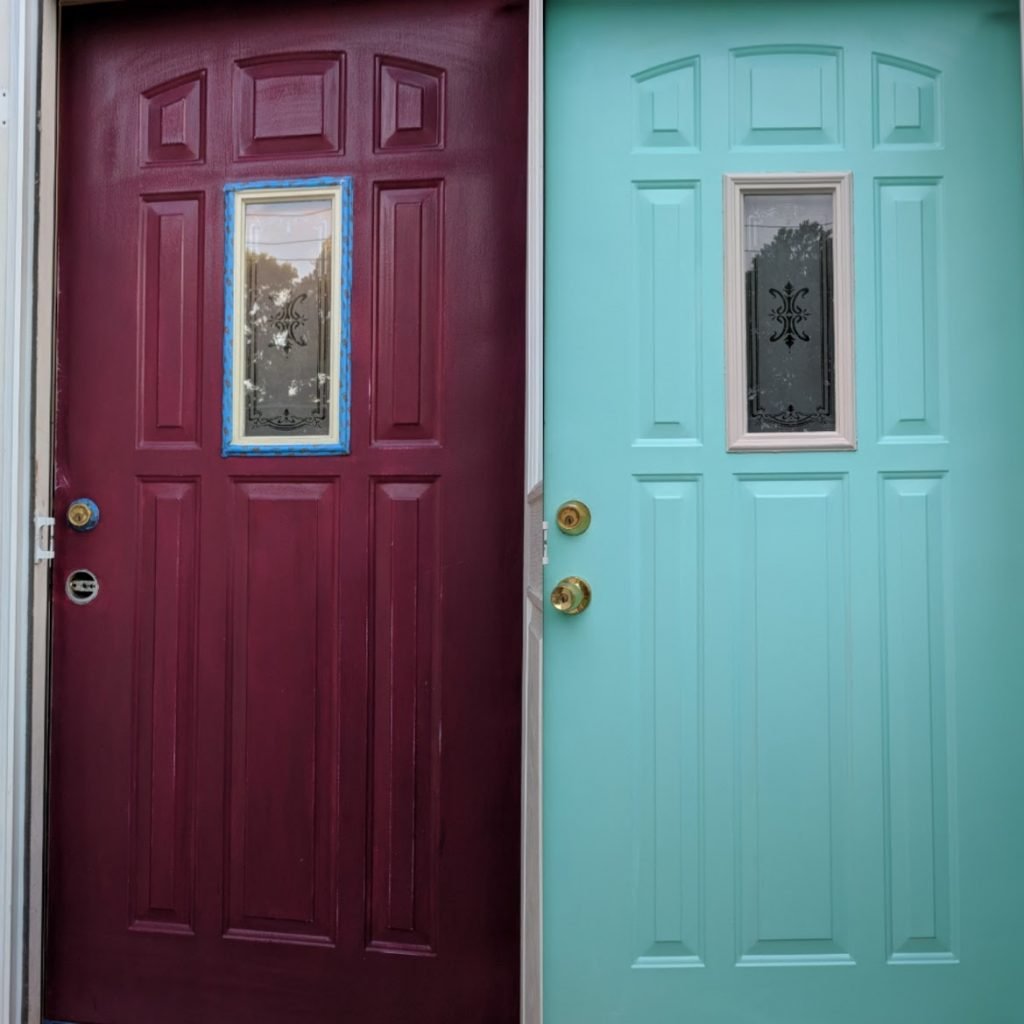
You can’t see well in that picture, but the door was painted dark red and it was obvious that whoever painted it only did one coat and just painted around the hardware… and probably didn’t even use the right kind of paint. The edge of the door, near the knob, was chipping BADLY. You could also see paint strokes, and there were paint pieces on the hardware.
Directions
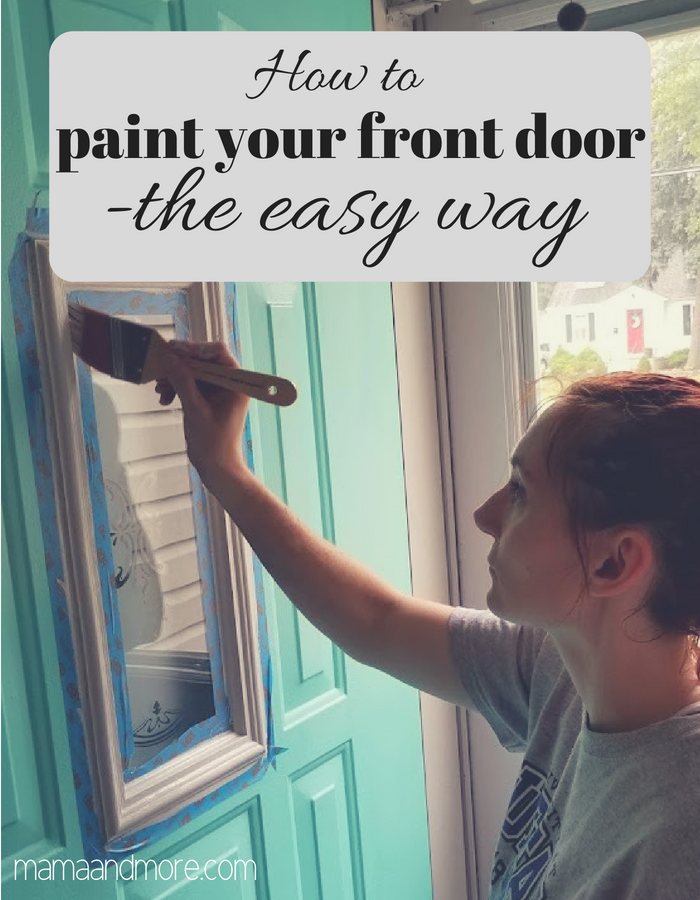
I started by removing the hardware. Okay, that was a quick and easy step.
Then I wiped everything down and taped off that weird middle window insert. Then I sanded the whole door. My sander wasn’t working at the time, so I just hand sanded it and paid the most attention to those chipped pieces. It didn’t take long, I just wanted to rough the door up a little. Then, as with any time you sand, I wiped it one more time with a microfiber cloth to get all the dust off.
Since my door started as a dark red color and I chose a light blue-aqua-turquoise-ish color (okay okay it’s what I always choose, whatever.), I definitely needed primer. I used Glidden Gripper, purely because I still had plenty leftover from painting my paneling.
Because I was only priming a door and not a wall or a room, this went so much faster than I expected! I didn’t even bust out the roller for this, I just went at it with the brush. However, it was actually very easy to miss a spot with the primer. Just keep standing back and checking all the little crevices. And there you go, you just did the hardest part!
Once that was dry (for me, the next day after the kids’ bedtime), I started with the actual paint. Instead of following those crazy arrows, I just used my brush to get in all those square indents/panels first. Like I said, it is surprisingly easy to miss a spot, so it helps to get all the little crevices covered first.
Then I got out my roller and covered the rest of the door with the roller. This part went super fast. Then I just checked out all the spots and cut in any remaining corners and edges. That’s it for coat #1, my friends.
The next day I did the second coat. The door definitely needed it, but the second coat went even faster.
After
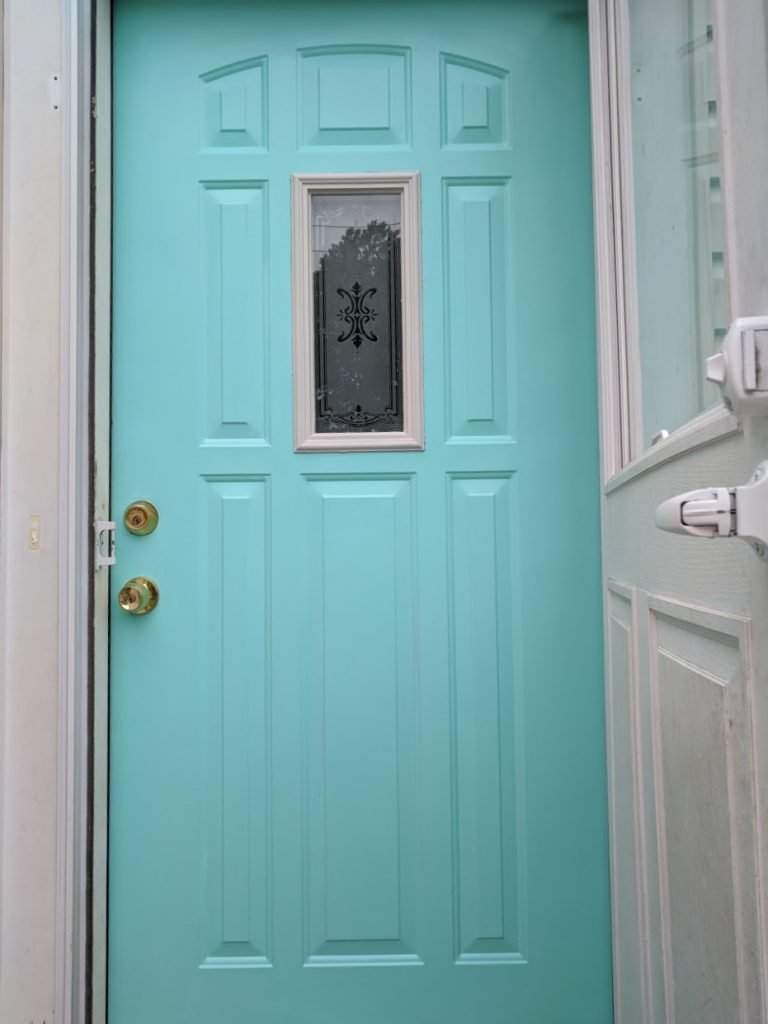
Guys, that’s IT… and here’s my new door! I had been wanting to paint it since we moved in, but I honestly had no idea how much of a difference it would make! Like, holy crap. Every time the door opens and closes the whole entrance to my house is brighter and it brings happiness to my life.
On a different note… I realized after putting up my painted shutters that I never took a before picture of my house from the front…. What kind of terrible blogger am I?! 😉 The best picture I have is one I took of Andrew holding up our shutters before we installed them. So this is the best shot I have to show you how it brightens up the whole house:
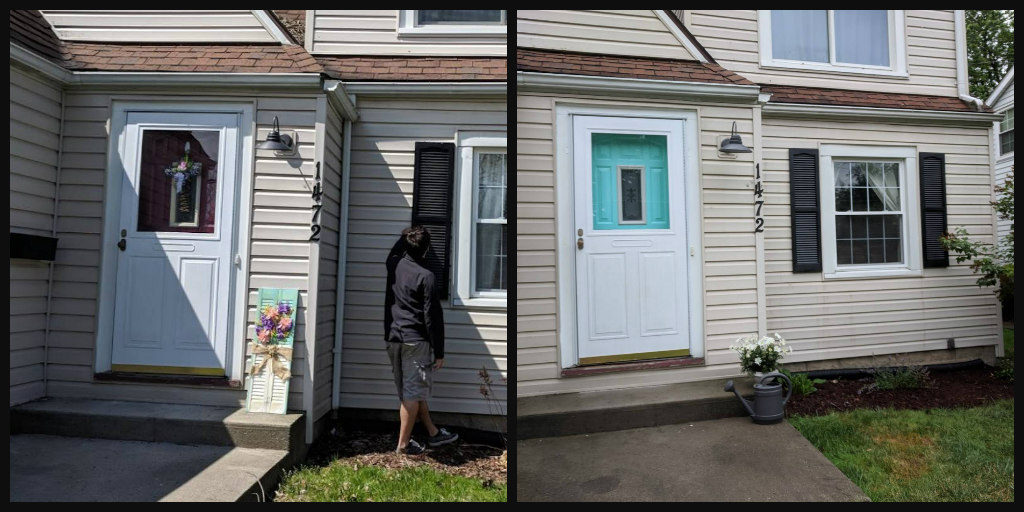
Now I reeeeeeeeally want a glass storm door to show it off. 🙂
And here’s the change in the door! At first I thought the color might be too bright, but I couldn’t love it more.
The moral of the story is… paint your front door!
If you have any inkling that you might want to do this, DO IT. Since this requires multiple coats and it’s a small area, it’s a perfect after-bedtime type of project. And I had plenty of paint left, even though I only bought a quart. So if you already have some painting supplies, this could cost less than $20 and change your curb appeal!
For more project ideas you can do (for cheap and with crazy kids!), you can download my free DIY mom-spiration checklist right here 🙂
What do you think, guys? What color have you been wanting to paint your door?